
Windows Kiosk in Multi-App mode is designed for scenarios where a Device must run more than one approved application under strict control.
Unlike traditional single-app kiosks, this configuration supports multiple Apps while enforcing restrictions that prevent unauthorized use.
Administrators can define the App set and manage user access consistently across Devices. This ensures a locked-down environment that is secure and aligned with organizational requirements.
Configuration for a multi-app kiosk
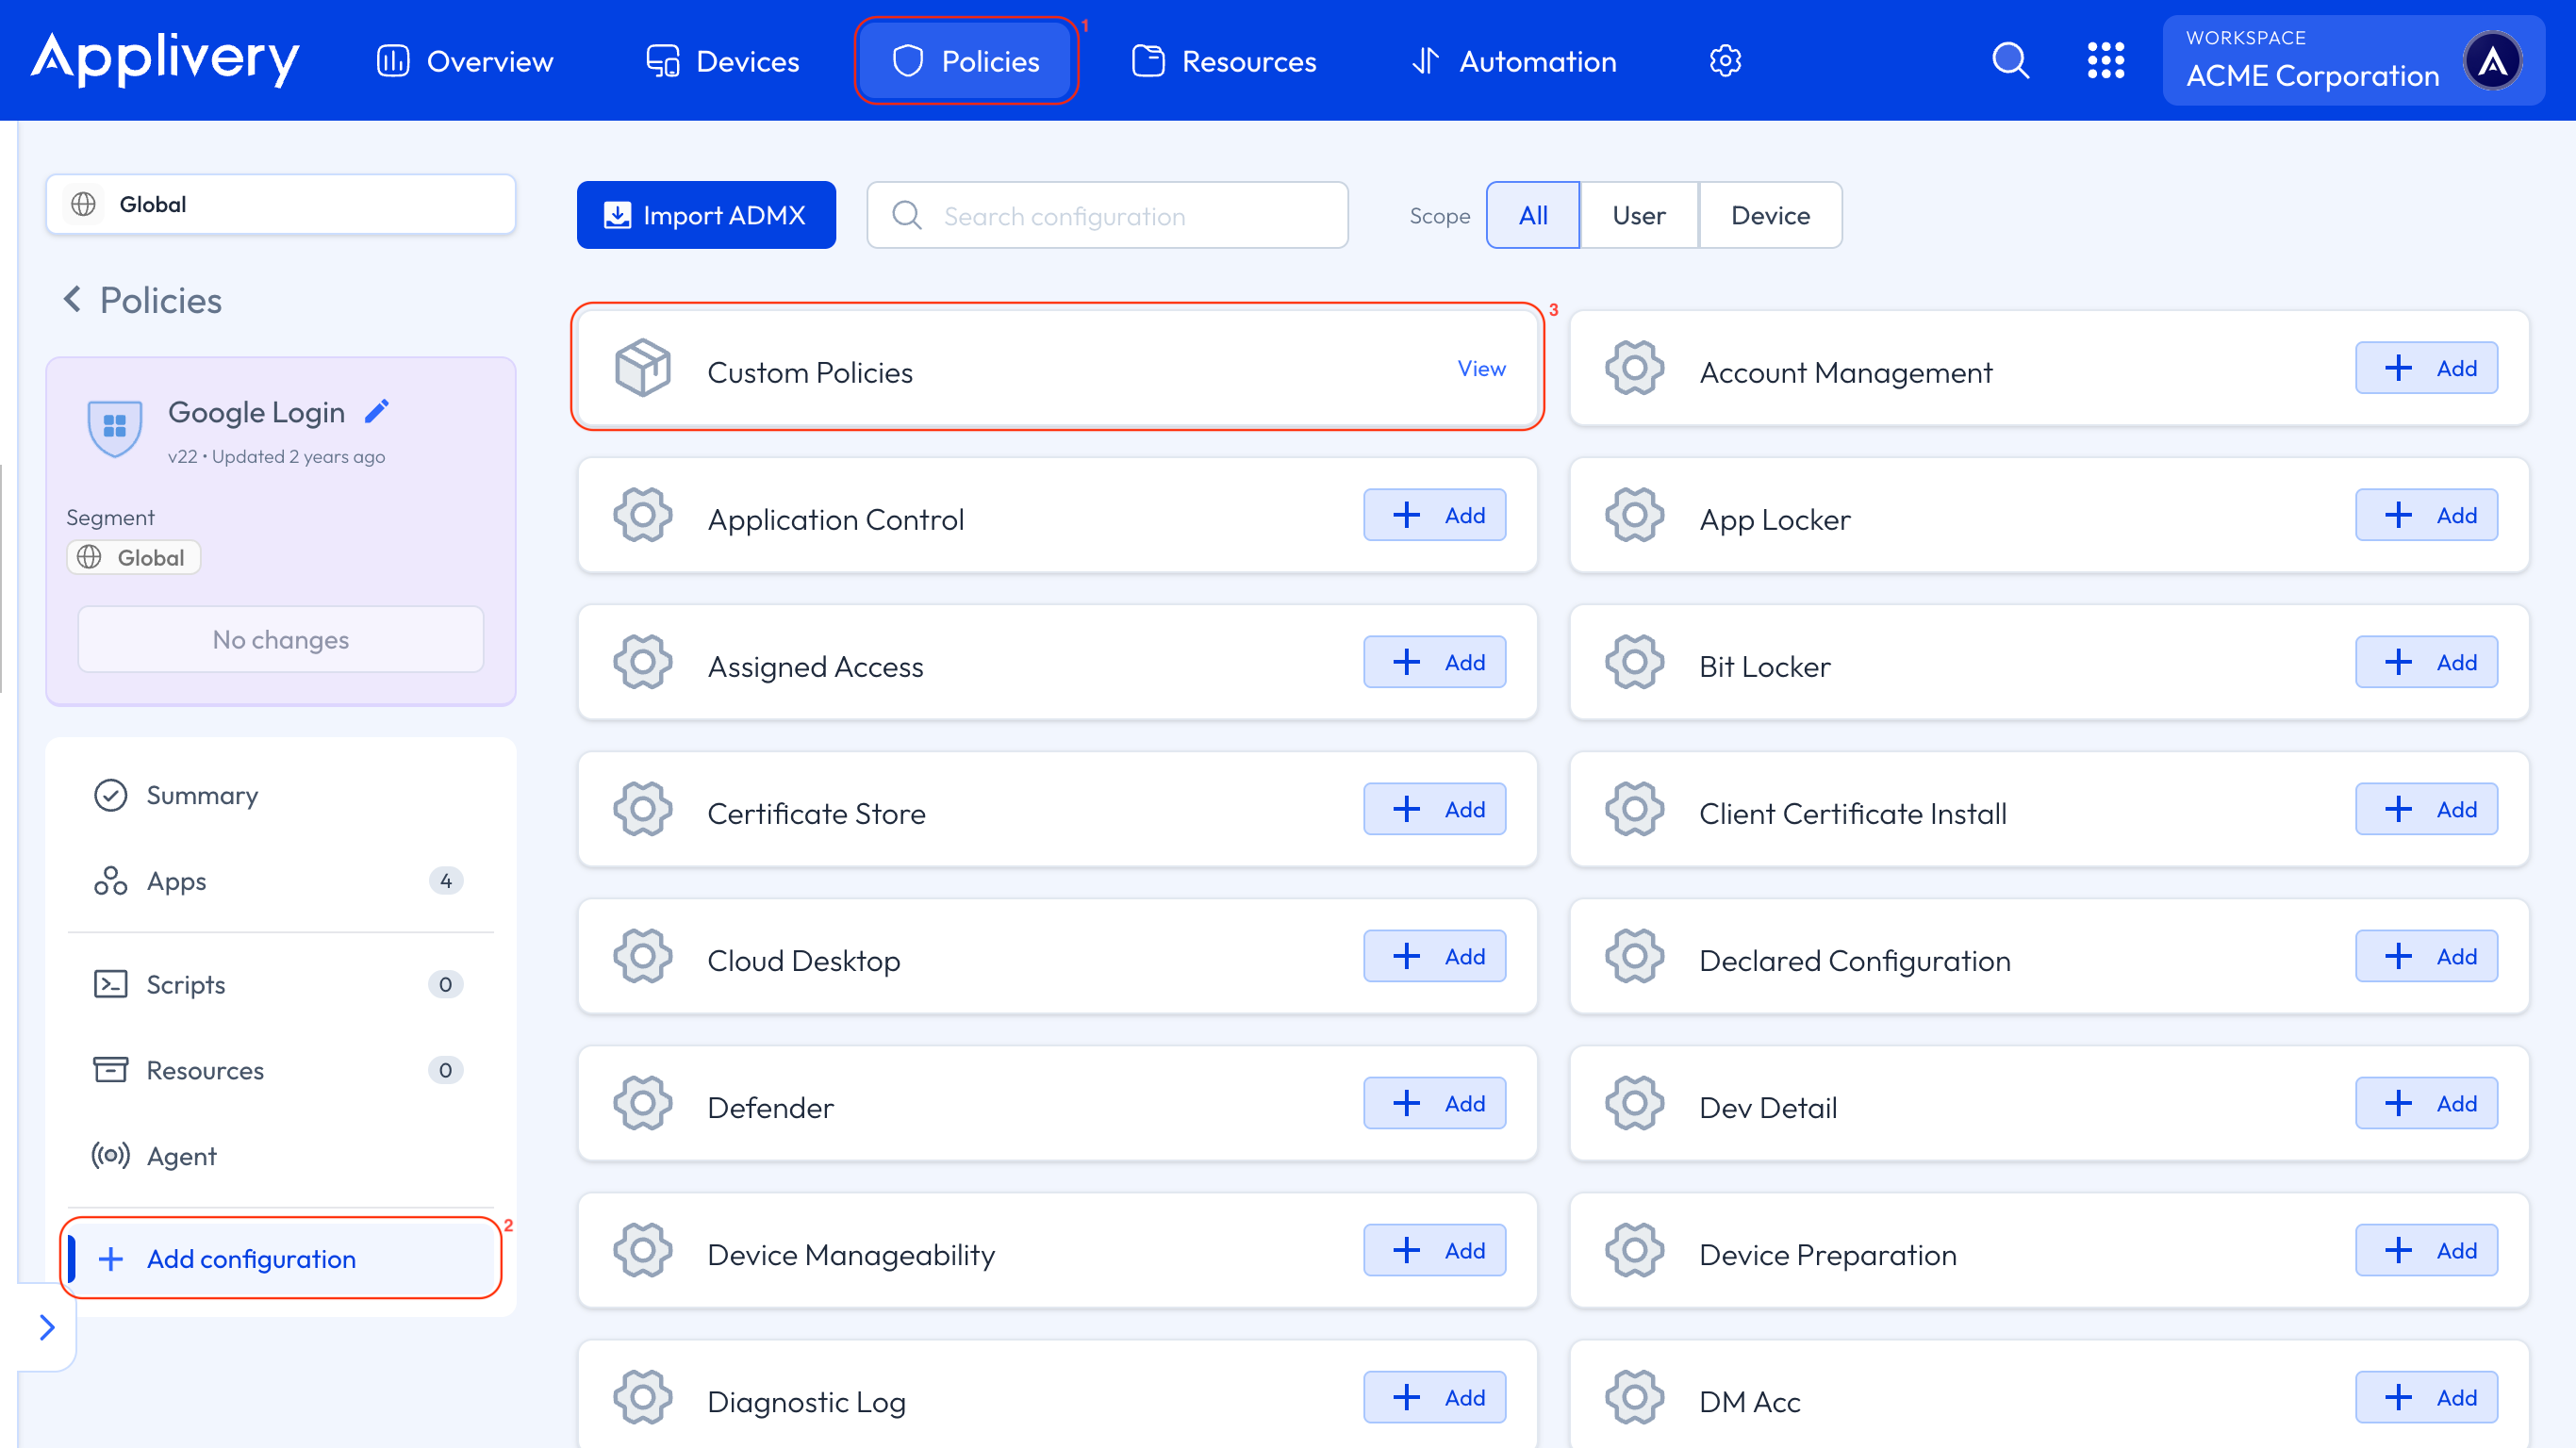
Once in the Applivery Dashboard, head to Policies 1 and select the Policy you want to configure for a multi-app kiosk.
Next, in the left-hand menu, select + Add configuration 2, search for Custom Policies 3, and then click + Add Value to create the new configuration.
Use the following OMA-URI to create a kiosk user:
OMA-URI:
./Device/Vendor/MSFT/Accounts/Users/$USERNAME/Password.Replace the
$USERNAMEvariable in the OMA-URI with the desired username.Format: String (chr).
Value: This value sets the password for the kiosk user.
Use the following OMA-URI to enable Shared PC Mode:
OMA-URI:
./Vendor/MSFT/SharedPC/EnableSharedPCMode.Format: Boolean (bool).
Value:
true.Enables Shared PC Mode, optimizing the Device for multiple users with restricted access.
Defines the account model in Shared PC Mode:
OMA-URI:
./Vendor/MSFT/SharedPC/AccountModel.Format: Integer (int).
Value:
2(this indicates a mode with disposable or restricted accounts).
Defines the account model in Shared PC Mode:
OMA-URI:
./Vendor/MSFT/AssignedAccess/Configuration.Format: String (chr).
Value:
<?xml version="1.0" encoding="utf-8"?>
<AssignedAccessConfiguration xmlns:xs="http://www.w3.org/2001/XMLSchema" xmlns="http://schemas.microsoft.com/AssignedAccess/2017/config" xmlns:default="http://schemas.microsoft.com/AssignedAccess/2017/config" xmlns:rs5="http://schemas.microsoft.com/AssignedAccess/201810/config" xmlns:v3="http://schemas.microsoft.com/AssignedAccess/2020/config" xmlns:v5="http://schemas.microsoft.com/AssignedAccess/2022/config">
  <Profiles>
    <Profile Id="{9A2A490F-10F6-4764-974A-43B19E722C23}">
      <AllAppsList>
        <AllowedApps>
          <App AppUserModelId="Microsoft.WindowsCalculator_8wekyb3d8bbwe!App" />
          <App AppUserModelId="Microsoft.Windows.Photos_8wekyb3d8bbwe!App" />
          <App AppUserModelId="Microsoft.BingWeather_8wekyb3d8bbwe!App" />
          <App DesktopAppPath="C:\Windows\system32\cmd.exe" />
          <App DesktopAppPath="%windir%\System32\WindowsPowerShell\v1.0\Powershell.exe" />
          <App DesktopAppPath="%windir%\explorer.exe" />
          <App AppUserModelId="windows.immersivecontrolpanel_cw5n1h2txyewy!microsoft.windows.immersivecontrolpanel" />
          <App AppUserModelId="%ProgramFiles(x86)%\Microsoft\Edge\Application\msedge.exe" />
        </AllowedApps>
      </AllAppsList>
      <rs5:FileExplorerNamespaceRestrictions>
        <rs5:AllowedNamespace Name="Downloads" />
        <v3:AllowRemovableDrives />
      </rs5:FileExplorerNamespaceRestrictions>
      <v5:StartPins>
        <![CDATA[{
          "pinnedList":[
            {"packagedAppId":"Microsoft.WindowsCalculator_8wekyb3d8bbwe!App"},
            {"packagedAppId":"Microsoft.Windows.Photos_8wekyb3d8bbwe!App"},
            {"packagedAppId":"Microsoft.BingWeather_8wekyb3d8bbwe!App"},
            {"desktopAppLink":"%APPDATA%\\Microsoft\\Windows\\Start Menu\\Programs\\System Tools\\Command Prompt.lnk"},
            {"desktopAppLink":"%APPDATA%\\Microsoft\\Windows\\Start Menu\\Programs\\Windows PowerShell\\Windows PowerShell.lnk"},
            {"desktopAppLink":"%APPDATA%\\Microsoft\\Windows\\Start Menu\\Programs\\File Explorer.lnk"},
            {"packagedAppId": "windows.immersivecontrolpanel_cw5n1h2txyewy!microsoft.windows.immersivecontrolpanel"},
            {"desktopAppLink": "%ALLUSERSPROFILE%\\Microsoft\\Windows\\Start Menu\\Programs\\Microsoft Edge.lnk"}
          ]
        }]]>
      </v5:StartPins>
      <Taskbar ShowTaskbar="true" />
    </Profile>
  </Profiles>
  <Configs>
    <Config>
      <AutoLogonAccount rs5:DisplayName="$USERNAME" />
      <DefaultProfile Id="{9A2A490F-10F6-4764-974A-43B19E722C23}" />
    </Config>
  </Configs>
</AssignedAccessConfiguration>
The Profiles Section defines a profile with a unique ID ({9A2A490F-10F6-4764-974A-43B19E722C23}) and specifies a whitelist of allowed applications under <AllowedApps>. This includes UWP Apps such as Microsoft Calculator, Photos, and Bing Weather, as well as desktop Apps like Command Prompt, PowerShell, and File Explorer.
File Explorer restrictions (rs5:FileExplorerNamespaceRestrictions) are applied to allow access to the Downloads folder only, while still permitting the use of removable drives. The Start Menu pinned Apps (v5:StartPins) section defines which applications appear pinned to the Start Menu, corresponding to the allowed Apps. Taskbar configuration is enabled (<Taskbar ShowTaskbar="true" />), ensuring the taskbar is visible in kiosk mode.
In the Configs Section, Auto Logon automatically signs in the user, with $USERNAME replaced by the actual username for the kiosk. Profile assignment sets the defined profile as the default. Ensure you replace $USERNAME in the <AutoLogonAccount rs5:DisplayName> element with the username of the previously created user intended for this kiosk mode.